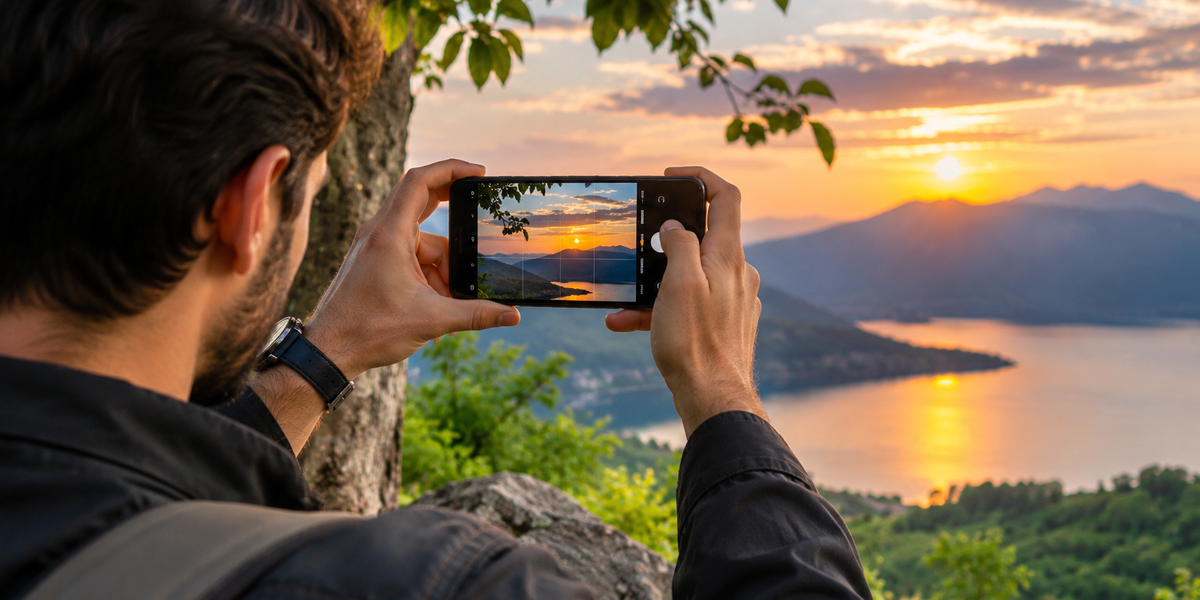
How to Take Better Photos with Just Your Phone
You do not need an expensive camera to take great photos. The phone in your pocket already has a remarkably capable camera, and in many situations, the difference between an average photo and a beautiful one has very little to do with the equipment. It comes down to light, composition, timing, and knowing a few simple tricks that make the most of what your phone can do. Once you start paying attention to those things, even ordinary moments can look dramatically better.
Start With the Light
Good photography begins with light. Phone cameras have improved enormously, but they still perform best when they have plenty of natural light to work with. Whenever possible, position your subject near a window or photograph outdoors during softer parts of the day. Early morning and the hour before sunset tend to produce warmer, gentler light, while midday sunlight can create harsh shadows and blown-out highlights.
Indoors, try turning off overhead lights and moving closer to a window instead. Window light often creates much more flattering skin tones and natural-looking shadows. If you are photographing food, objects, or people, experiment with having the window beside your subject rather than directly in front of them. Side lighting adds depth and texture without requiring any additional equipment.
Clean Your Camera Lens
It sounds almost too simple to matter, but cleaning your lens can instantly improve your photos. Phones spend their days in pockets, handbags, and hands, which means the camera lens quickly collects fingerprints, dust, and oil. That thin layer of grime can make photographs look hazy, reduce contrast, and create strange streaks around lights.
Before taking an important photo, gently wipe the lens with a clean microfiber cloth or another soft material. It takes a few seconds, and the difference can be surprisingly noticeable, especially when shooting at night or around bright lights.
Stop Using Digital Zoom
When something looks too far away, the instinctive reaction is often to pinch the screen and zoom in. In many situations, however, digital zoom simply enlarges part of the image, sacrificing detail in the process. The result can look softer and more artificial than a photograph taken without zoom.
Instead, physically move closer whenever you can. If your phone has dedicated optical zoom options, such as 2x, 3x, or 5x lenses, those can produce much better results than freely pinching to an arbitrary magnification. Another option is to take the photograph at the camera’s native focal length and crop it afterward. You may end up with a cleaner image and have more control over the final composition.
Think About Composition Before You Tap
A good photograph gives your eye somewhere to go. Rather than automatically placing everything in the middle of the frame, think about where your subject sits in relation to the surroundings. Turning on your phone camera’s grid can help you use the rule of thirds, where important elements are positioned roughly along the grid lines or their intersections.
But composition does not need to follow strict rules. Look for symmetry, repeating patterns, interesting reflections, doorways that naturally frame someone, or roads and buildings that create lines leading toward your subject. Sometimes simply taking two steps sideways or lowering the phone slightly can turn an ordinary snapshot into something far more intentional.
Change Your Perspective
Most phone photos are taken from roughly the same position: standing upright, holding the phone somewhere between the chest and face. That is one reason so many photographs end up looking similar.
Try changing the height and angle instead. Get close to the ground when photographing children, pets, flowers, or street scenes. Photograph something from directly above. Move closer to a foreground object and let it partially frame the scene. Step farther back to include more of the environment. Small changes in perspective can make familiar places look completely different.
Tap to Focus and Adjust the Exposure
Your phone normally decides where to focus and how bright the photograph should be, but it does not always make the choice you want. Tap directly on your subject before taking the picture so the camera knows what should be sharp. Most phones also let you adjust exposure after tapping the screen, usually by dragging a small sun or brightness control up or down.
When in doubt, slightly darker is often safer than excessively bright. Bright areas that become completely white may contain little recoverable detail, while slightly dark shadows can often be improved during editing. Lowering the exposure a little can also make skies, sunsets, windows, and bright outdoor scenes look richer and more dramatic.
Use Portrait Mode Selectively
Portrait mode can create attractive photographs by keeping the subject sharp while blurring the background, but it works best when the scene gives the camera clear information about depth. Hair, glasses, fingers, plants, and complicated edges can sometimes confuse the software and produce unnatural-looking blur.
Use portrait mode when it genuinely improves the image rather than automatically using it whenever a person is in front of the camera. A regular photo with good light and an interesting background can often look more natural. You can also create real background separation without portrait mode by moving your subject farther away from the background and getting physically closer to them.
Take More Than One Photo
Professional photographers rarely take one photograph and assume they have captured the perfect moment. Neither should you. Take several frames, especially when photographing people, children, pets, movement, or candid situations. Tiny differences in expression, posture, focus, and timing can completely change which photograph feels right.
Burst mode can be particularly useful for action. Rather than trying to predict the exact fraction of a second when someone jumps, laughs, or turns toward the camera, capture a sequence and choose the strongest frame afterward. You can delete the extras later.
Pay Attention to the Background
Sometimes the subject looks perfect while the background quietly ruins the photograph. A lamp appears to grow out of someone’s head, a rubbish bin becomes the brightest object in the frame, or a cluttered table pulls attention away from what you were trying to photograph.
Before pressing the shutter, quickly scan the edges and background of the frame. Often the fix requires nothing more than moving a few centimeters, changing your angle, or removing one distracting object. Simpler backgrounds tend to make subjects stand out, but an interesting environment can also strengthen a photograph when it adds context rather than competing for attention.
Avoid the Flash When You Can
The small flash built into a phone can be useful in certain situations, but it often produces harsh light, shiny skin, strong shadows, and flat-looking photographs. If there is another light source available, try using it first.
Move closer to a lamp, window, storefront, candle, or other ambient light source. At night, modern phones can often produce surprisingly good results using their dedicated night modes, provided you hold the phone steady. Leaning against a wall, resting your elbows on a table, or placing the phone on a stable surface can dramatically improve low-light photographs.
Learn When to Use the Different Lenses
Many modern phones offer several cameras, commonly an ultrawide lens, a standard lens, and one or more telephoto options. Each creates a different feeling. Ultrawide lenses are useful for landscapes, architecture, interiors, and dramatic perspectives, but they can distort people near the edges of the frame. The standard camera is usually the most versatile and often performs particularly well in lower light.
Telephoto lenses are excellent for portraits and distant details because they can produce a more compressed, natural-looking perspective. Experiment with photographing the same subject using different lenses rather than assuming the widest view is always the best one. Choosing the right lens is essentially choosing how you want the scene to feel.
Edit, but Don’t Overdo It
Editing is part of photography, not cheating. Even a few small adjustments can make an image look significantly better. Start with exposure, highlights, shadows, contrast, warmth, and cropping. Straightening a slightly crooked horizon can sometimes improve a photograph more than any filter.
The key is knowing when to stop. Excessive saturation, extreme HDR effects, aggressive sharpening, and heavy filters can quickly make an otherwise beautiful photograph look unnatural. A useful test is to finish your edit, look away for a minute, and return to it. If the editing itself is the first thing you notice, consider dialing it back.
Photograph Moments, Not Just Things
Technical perfection is useful, but it is not what makes most photographs memorable. The images people keep returning to usually capture something: an expression, a movement, an interaction, a strange detail, or a fleeting moment that would otherwise disappear.
Instead of always asking people to stop and pose, photograph what happens between the poses. Capture someone laughing before they realize the camera is pointed at them. Photograph the half-eaten breakfast, the messy hotel room, the hands reaching across the table, or the rain outside the train window. These photographs may not always be the most polished ones in your camera roll, but years later, they are often the ones that mean the most.
The Best Camera Is the One You Learn to Notice With
Taking better phone photos is less about discovering a hidden camera setting and more about becoming deliberate. Notice where the light is coming from. Look at what is happening behind your subject. Move your feet before reaching for the zoom. Change your perspective. Wait another second for the expression you want.
Once those habits become automatic, your phone stops feeling like a limitation. It becomes what it has always been: a camera you happen to carry everywhere. And because it is always with you, it gives you something even the most expensive professional camera cannot guarantee—the chance to notice and capture the moment while it is actually happening.